Step 1: Impressing Your Teeth
First you’ll need a tray to put your impression material in. Don’t forget, the alginate is a little runny. If you were just to stick it in your mouth it would be like trying to get a thick milk shake to cooperate. What’s more, you’ve got to hold very still once the material is placed in your mouth until it sets up. A lot of movement will cause distortions which will lead to an inaccurate model of your teeth so we need something to hold the goopy stuff in place – a tray!
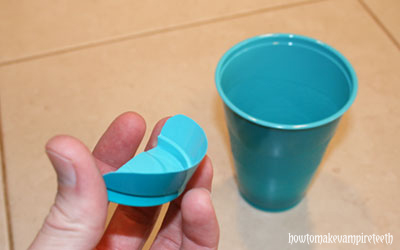
One way to make this is with a paper cup. Cut out a bottom section of the cup as seen here. The goal is to completely engulf your teeth in impression material so we want this tray to guide the material up around your teeth and onto your gums. Try the tray in to make sure it will fully cover all surfaces of your front teeth from canine to canine.
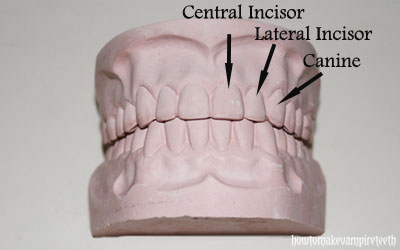
You can make your vampire teeth to cover whichever teeth you want, but some elongated canines tend to be the most vampire-ish. Here’s a diagram of your front teeth if you’re not sure which are your canines.  If you’re still unsure what we’re trying to accomplish here, scroll down and check out some of the photos of the final impression.
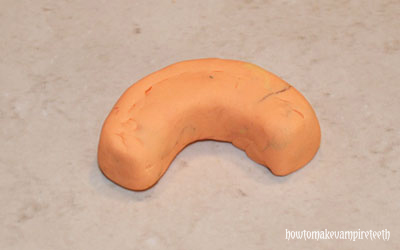
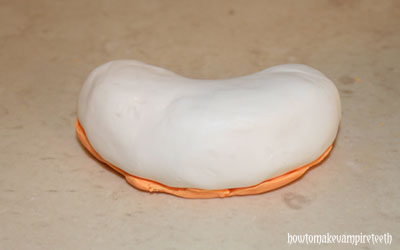
If you want to go that extra mile we have another method for making a tray that will fit your mouth perfectly, help you use up less impression material, and provide a more rigid support for your impression. First take some Play-Doh or something similar (click here for a homemade Play-Doh recipe). Shape it into an arch or half circle as seen above. You want the shape to closely resemble the U-shape that your upper teeth make. You can even hold the Play-Doh in your mouth for a moment to see if you’ve got it right.  Be warned though, unless you were one of those weird kids that licked glue and munched on Play-Doh, don’t taste it, yack!
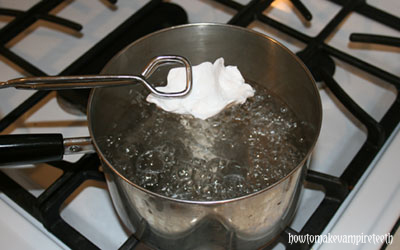
Next you’ll need a pot of boiling water. Take some Friendly Plastic (a really cool plastic material found at most craft stores, see our supplies list) and submerge it in the hot water with some tongs. Hold it lightly because once it warms up, it might stick to whatever it touches. As soon as it becomes malleable, remove it from the pot and quickly take it to your Play-Do arch.
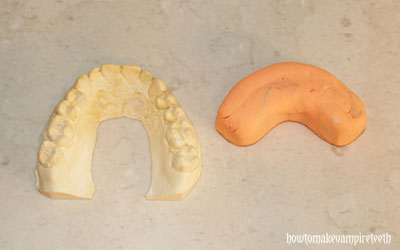
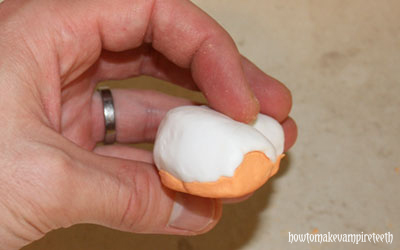
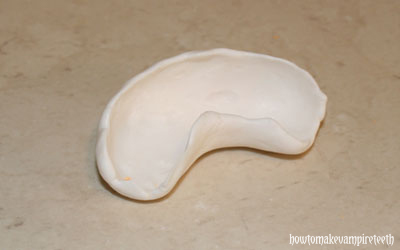
Mold it to fit your Play-Doh as you see in the picture. Make sure there are no sharp points that might jab your gums.  You’ll have to move fairly fast to make this work and it may require a brief dip in the boiling water again to get it just right.  Let it sit for a few minutes until it hardens up again. Run it under cold water to speed things up. If you really fowl it up, just throw it back in the boiling water and warm it up again. It really is “friendly” plastic.
Once you’ve got it just right, try it in your mouth and see if it envelopes your front teeth completely. You now have a custom-fit tray!
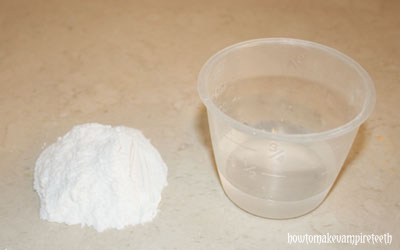
Now for the impression. Read the instructions that come with your impression material and follow the measurement guidelines. In most cases it’s a 1:1 ratio meaning you can mix a scoop of powder with an equal amount of water. One quick way to do this is to fill your custom tray with water and then pour the water into your mixing bowl. Mark the spot that the water comes to in the bowl, dump the water into a separate cup, and fill the bowl to that mark with powder. Dump the water back in and mix vigorously.
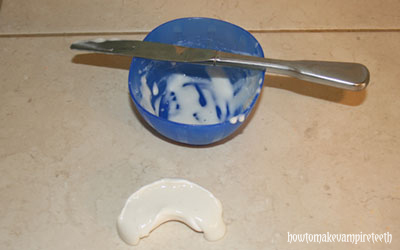
Keep some extra water nearby or stay near a sink because you might need some more water if things are turning out too thick. After mixing it thoroughly you’ll want a nice creamy, clump-free mixture, sort of like a bowl of pudding – a nice smooth mix that’s thick enough it wouldn’t run all over the place if you dumped it out. This stuff cleans up pretty easily so don’t worry about ruining any kitchen instruments.
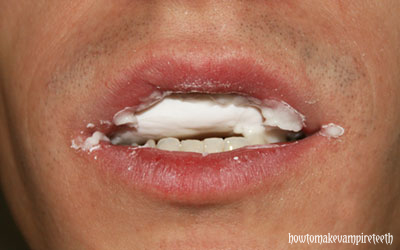
Transfer this to your custom tray and insert it in your mouth. Doesn’t it look tasty?! You should feel it fill all the spaces around your front teeth and up past your gum line. Remember, you only have a minute or two to do this before it starts to set up. Hold really still for three or four minutes while the material hardens and try to think happy thoughts.
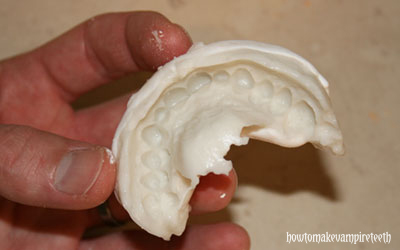
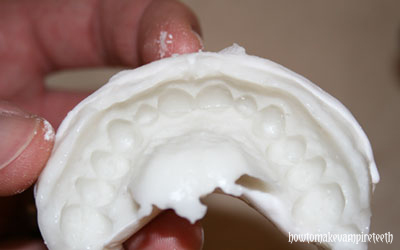
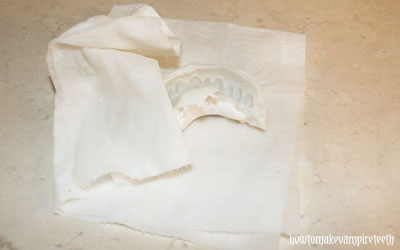
Once set, you can gently remove it from your mouth to assess how you did. Look for any imperfections like voids or blurred details.  For example, you’d want to see a very crisp line where your gums meet your teeth, particularly around the canines (or the teeth you’re planning to turn into fangs).  When you pour in the casting material these voids will fill up and appear as bubbles or globs of stone on the model.  An adequate impression will look like the picture shown. If not, tear out the bad impression and have another go at it. Trust us, there is plenty of incentive to get it right the first time! Really though, it’s not as gross as it looks so just buck up and do it again if needed.
Now, if you got your impression material from a hobby store it might tell you to wrap the impression in a wet paper towel, stick it in a plastic bag, and store it in the fridge for up to ten days or so. It’s true that alginate-like materials will hold up under proper storing conditions for several days, but most of these products assume that you’re taking impressions of random objects or other body parts (like your child’s foot). A little distortion from storing the impression for a few days is not a big deal, but our goal is to make a mean set of fangs that very accurately fit your own teeth so pour some stone into that baby immediately!  Dentists make sure to use their impressions within ten minutes in order to get a highly accurate model so you should probably do the same.
You’re done with the impression step!
