Step 3: Sculpting Your Vampire Teeth
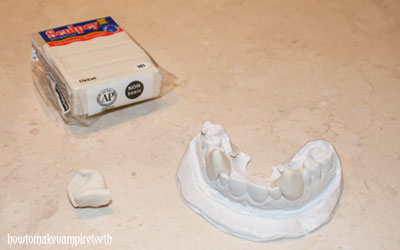
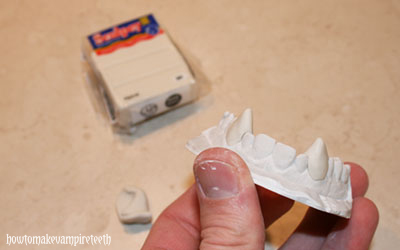
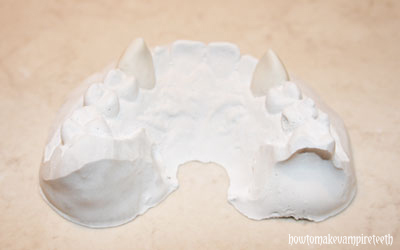
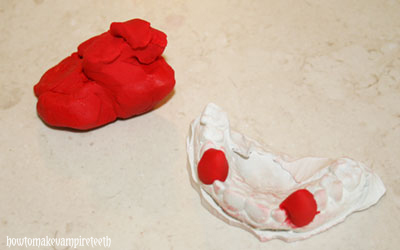
This is where things start to really get fun. We’re now going to sculpt our horrifying vampire fangs. Take some Sculpey clay and begin applying it to the teeth you’d like to cover with your fangs. The clay will stick much more easily if you’ve allowed it to dry thoroughly.
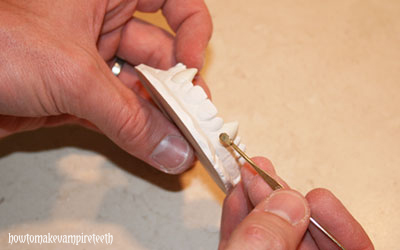
You may need to use some kind of small instrument to help you sculpt your teeth. Here I’m using a small tool found in a manicure kit. I think its actually used for cleaning out your ears – gross, but very useful in this situation.
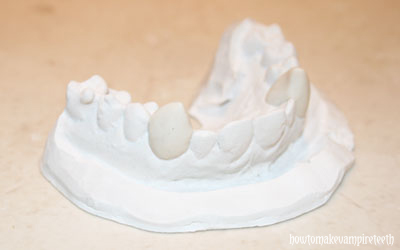
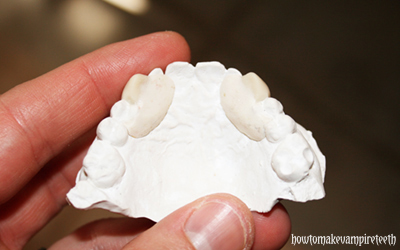
Gently sculpt the clay until you have two fangs that look like the vampire fangs you’ve always wished you had. Cover the front and back of the teeth. If you can’t get it just right, that’s ok, because we’re going to trim the teeth down to size later on. If anything, bulk the teeth out a bit. Later on, you can simply take away extra material, but it’s much more difficult to add material. Also, keep in mind that if the material is extremely thin you will have a much more fragile set of fangs.
An alternative option is to use oil-based modeling clay, another very common clay. Â Oil-based clay is very easy to mold and shape and it won’t dry out. Â It’s an excellent option if you can’t get your hands on any Sculpey. Â We liked the Sculpey because it’s a little more firm than the modeling clay which you’ll see can be helpful in a future step.
There is one other very useful feature you may want to include in your fangs at this point. Â You’ll notice in the above picture we’ve added a little more bulk to the back side of the teeth. Â This extra material will wrap around the neighboring teeth and provide a little more retention for your fangs. Â It means having a bit more material in your mouth, but it won’t be visible to your admirers and it really does wonders for keeping those teeth in place.
