Step 6: Polishing
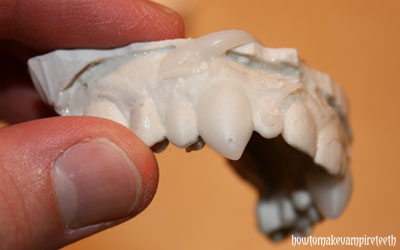
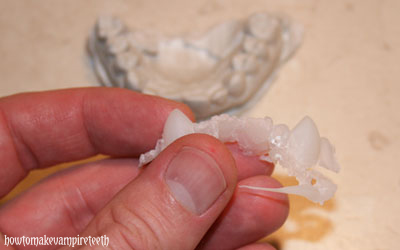
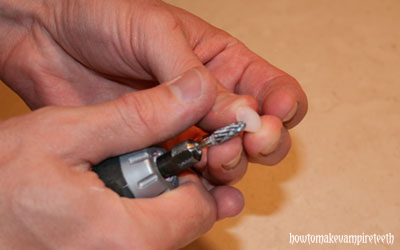
When you remove your fangs, you’ll likely find that you’ve got a whole lot of cleaning up to do. Â Check for any major repairs like voids or distortions. Â Our Troubleshooting page has methods for fixing any blaring errors you see. Â Skip ahead here if you need to. Â If everthing looks pretty good, you can begin polishing. Â Any excess acrylic can be removed very quickly with a power rotary tool commonly called a Dremel (Dremel is actually the most popular brand of rotary tools). Â Focus on the visible side of your teeth. Â If you want to trim off the acrylic on the back side later, you certainly can, but you might find that extra acrylic helps to keep your fangs in place.
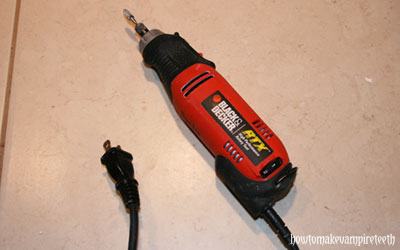
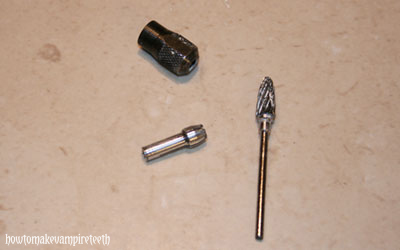
We got this Black & Decker rotary tool at Walmart for around $30. You might need to pick up a bur and a corresponding collet if a useful one doesn’t come in your kit. You could use either a bur like the one shown in the picture above for a good result.  Dremel’s can be a very useful tool for dozens of other projects, so if you’ve thought of buying one this might be the perfect opportunity.
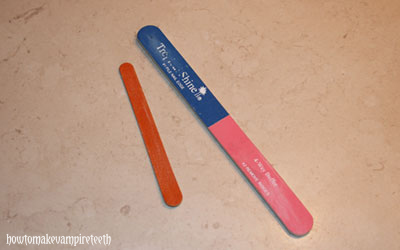
The other way to trim up your teeth is with an emery board – after all, this is nail acrylic. Chip off any large pieces and then start refining your teeth until they look just the way you want them. Keep a mirror handy so you can try them on your teeth to evaluate the final result. Once you’re done, polish them up with the finest surface of your emery board.
The polishing step may take a while depending on the tools you have handy and how much you need to trim your teeth. Â Have a little patience until you’re happy with the finished product!

